From lighting up to coals
The fire, not the grill
The difference between a braai and a barbecue is not the food, it is the hour beforehand. Wood is burned down until only coals remain — and those coals are read, not measured.
The sequence
Four steps, one hour
-
Build it
Kindling in the middle, heavy logs leaned loosely into a cone above it. Air has to move through from below — a tightly packed heap burns badly and smokes.
-
Burn it down
The fire burns for 30 to 40 minutes. The point is not to have flames, it is to get rid of them. Nothing cooks over an open flame — it blackens the outside and leaves the inside raw.
-
Wait for grey
The coals are ready when they carry a pale grey coat of ash with red glowing underneath. As long as you can see black patches, wood is still burning there, not charcoal.
-
Spread it
Rake the coals to one side and leave the other clear. Those two zones are the actual tool: hot for the crust, clear for cooking through.
Where this comes from
The same braai, three times
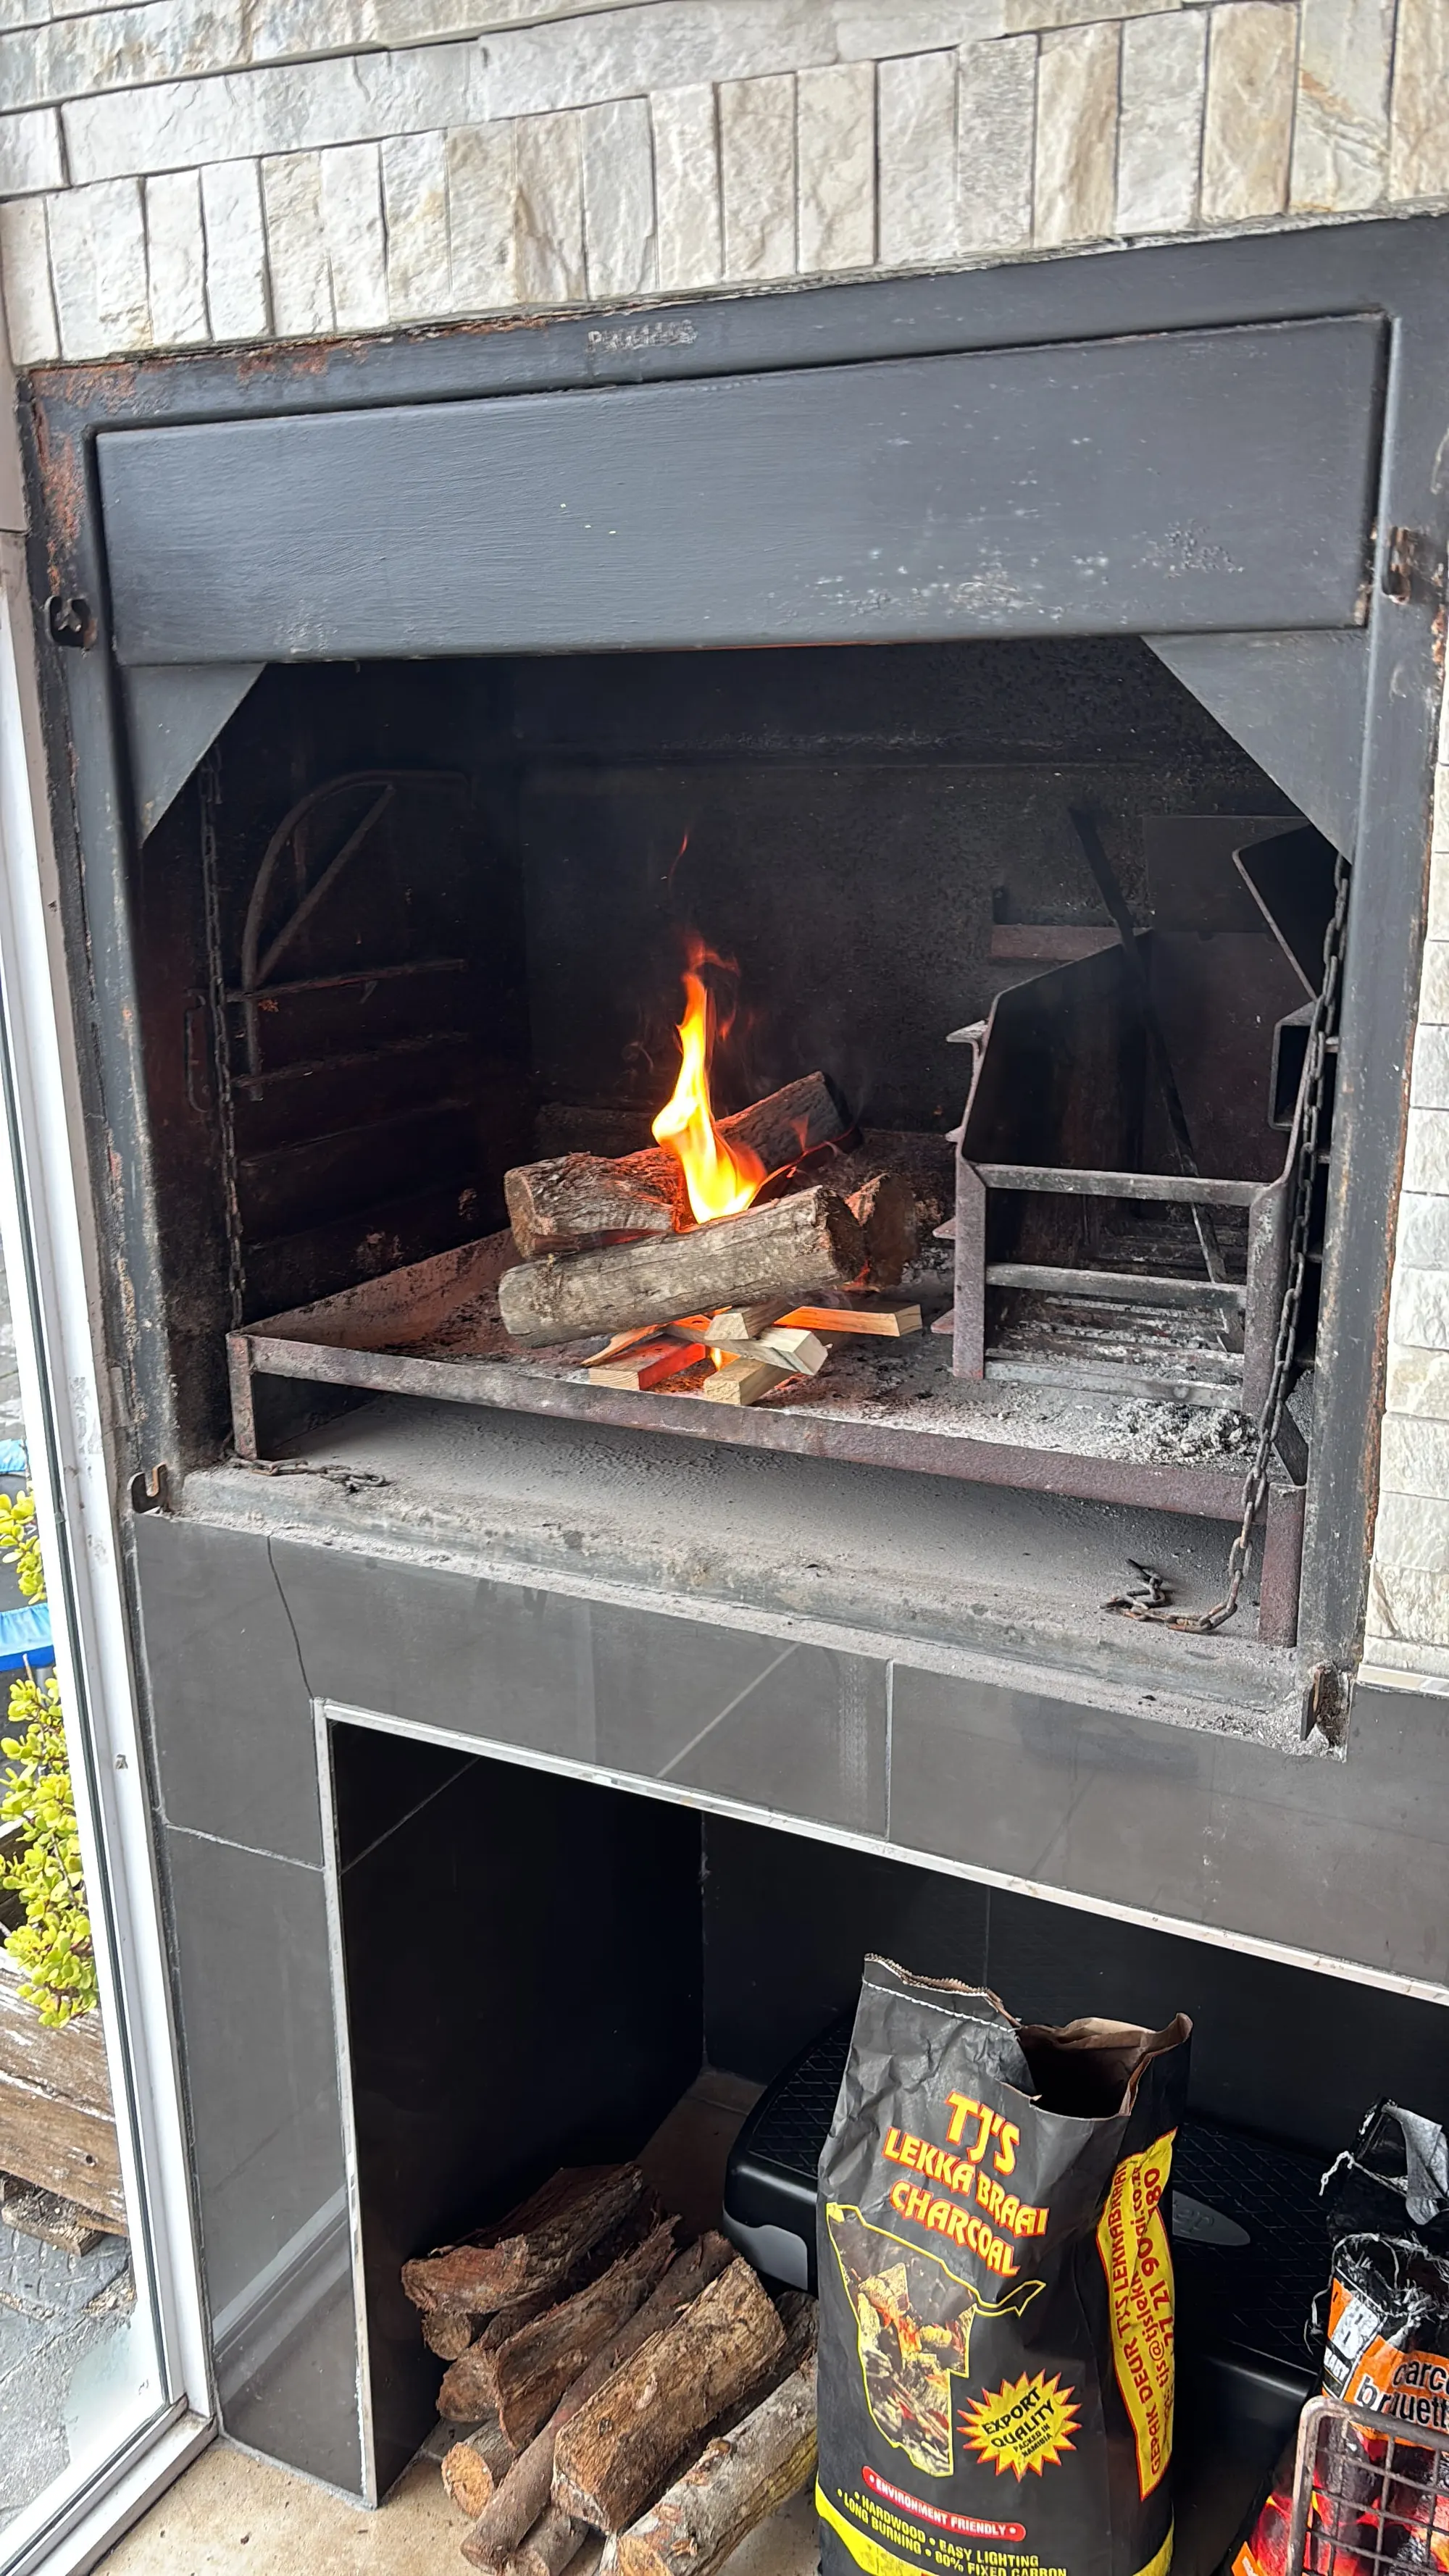
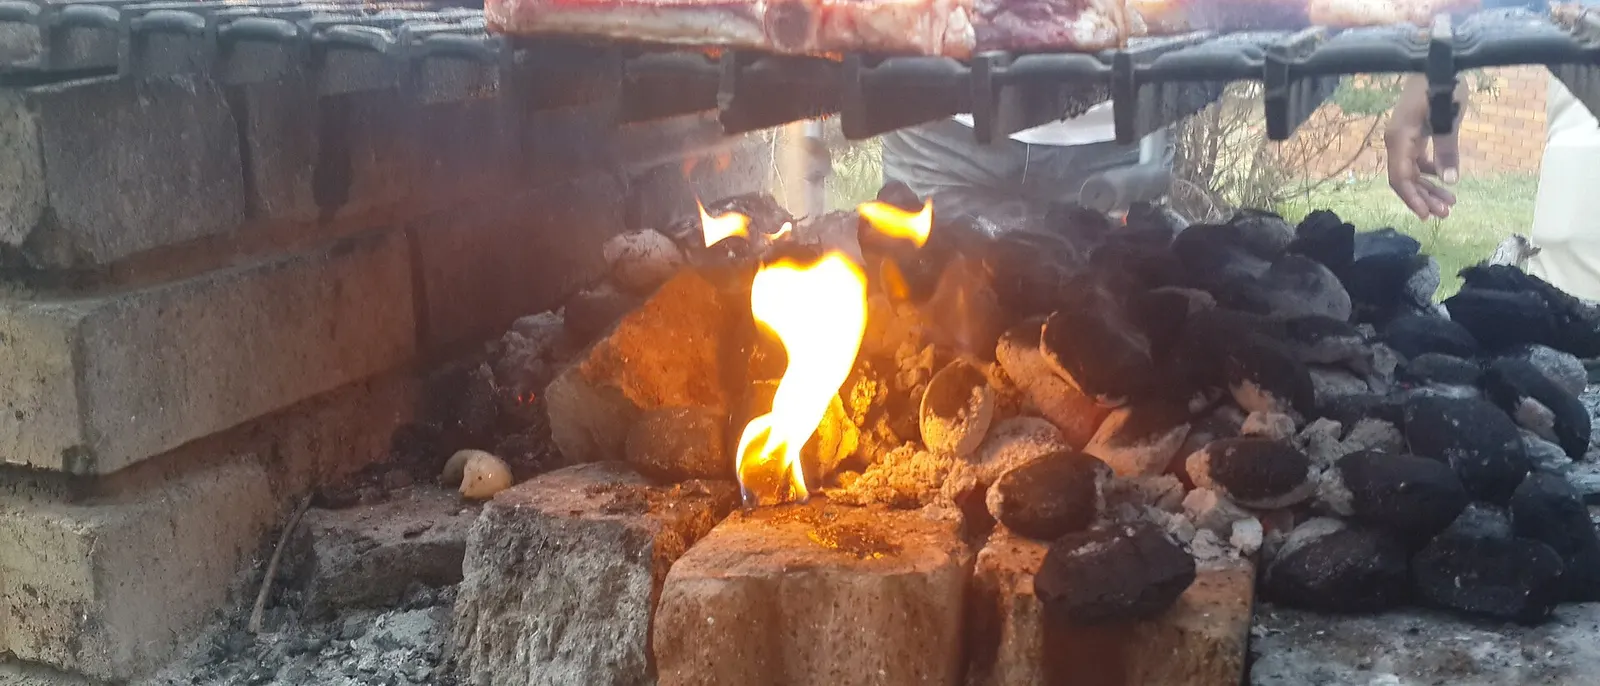
The instructions above are not copied from anywhere. They describe this braai at a rented house in Cape Town — cold, lit and burning, on one afternoon in September.
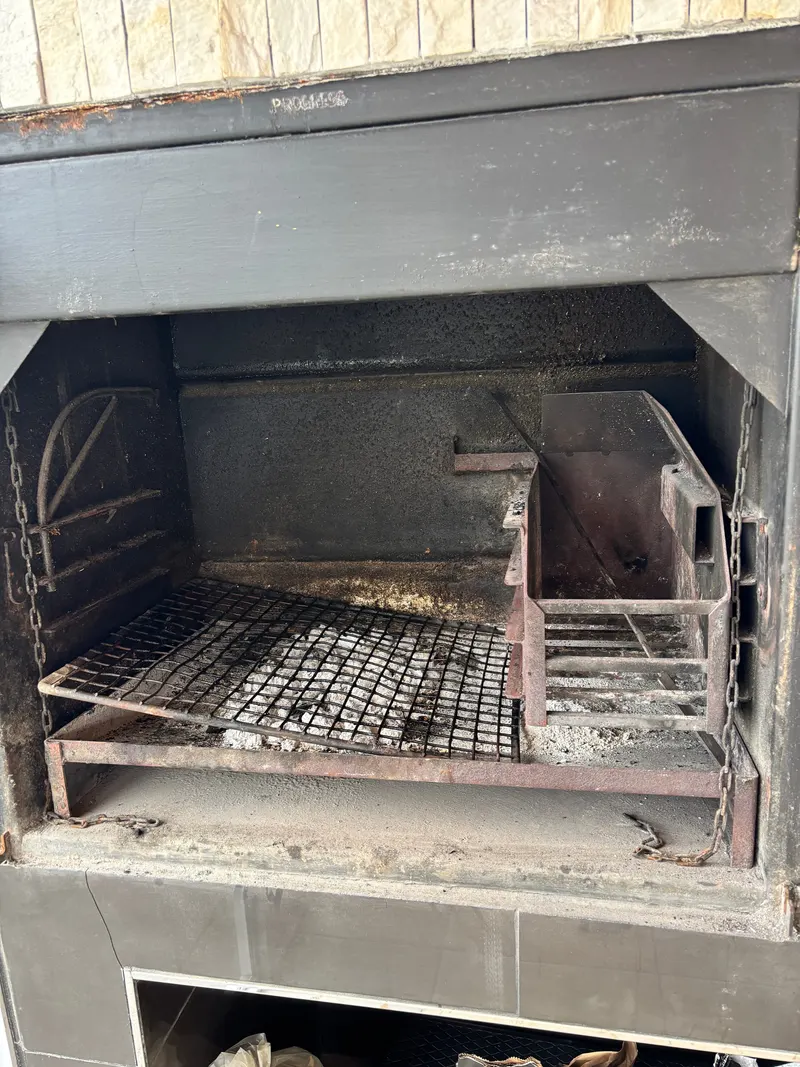
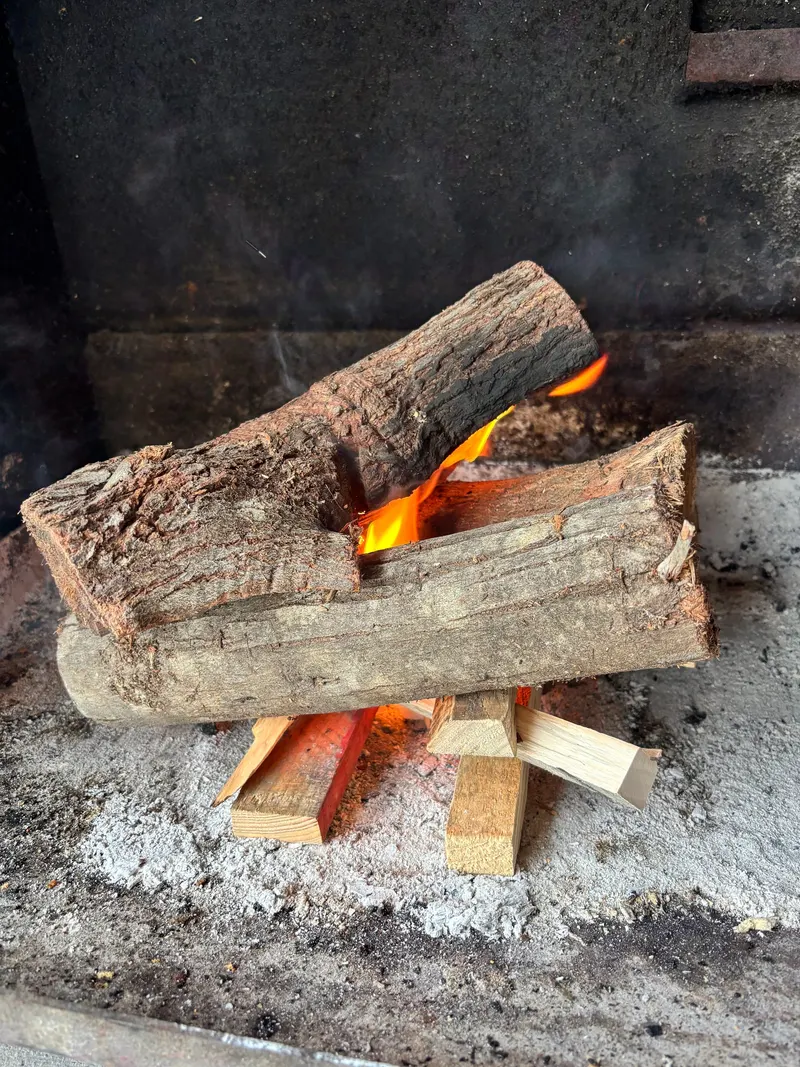
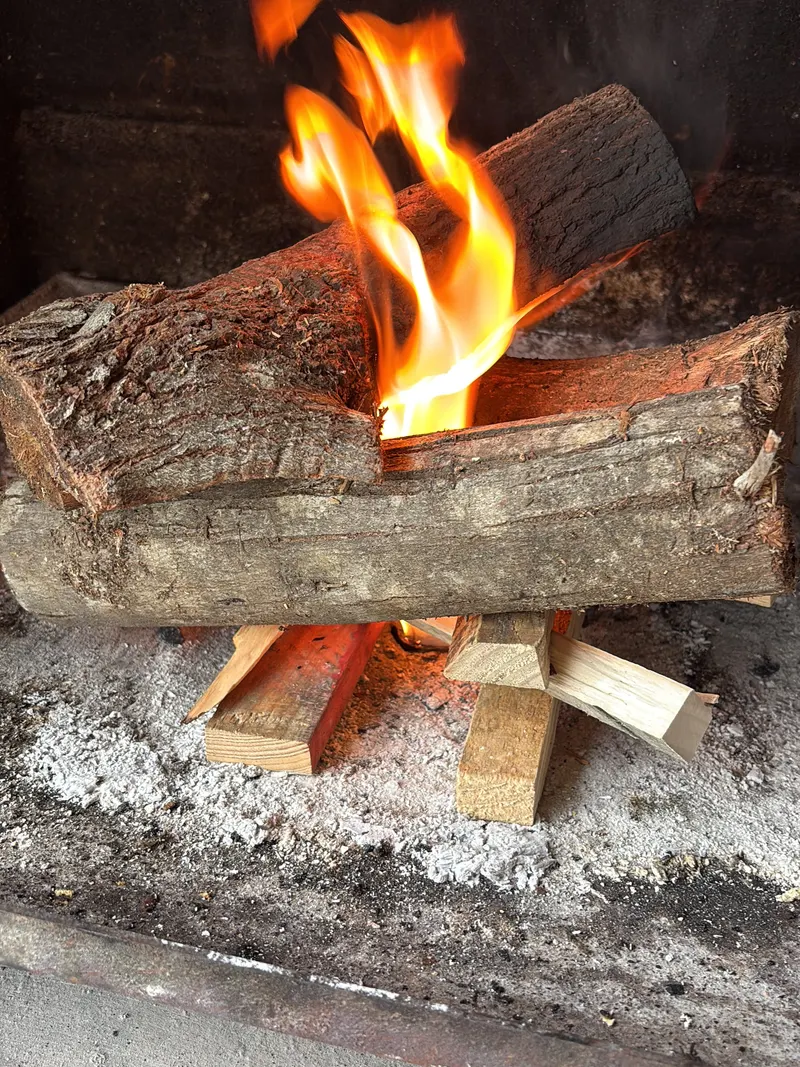
A wood fire, in four steps
Build it, light it, burn it down, spread it. About an hour from the match to the first piece of meat.
braai.kaidostudios.de · CC BY 4.0 — reuse it, just credit the source.
Runs alongside the fire
The coal clock
From the match onwards. It speaks up at 30 and at 40 minutes — the first sensible moments to look at the coals.
- 00 min Lit. Now do nothing but wait.
- 30 min First look: are the flames gone?
- 40 min Check — grey outside and red beneath? Then spread the coals.
- 55 min The coals are fading. Bread and broodjies go on now.
The clock keeps running when the screen goes off or the page is reloaded. It lives on this device and is sent nowhere.
No thermometer
The hand-over-the-grid test
Hold your open palm about ten centimetres above the grid and count slowly until the heat pulls you away. That number of seconds is the temperature — more accurate than it sounds, because it measures exactly what reaches the meat.
Eight seconds for wors, four for tjops, two only to sear.
How long can you hold it?
Full heat
Roughly 230 °C+You cannot hold your hand there for three seconds. This is the searing zone, not the cooking zone: hit the meat hard, then move it to the cooler side. Put a whole chicken here and you get charcoal outside, raw inside.
What it is for
Steaks, chops, tuna — anything that needs a crust
Hot
Roughly 200–230 °CThe working temperature for most meat. It browns quickly without the surface burning before the middle warms up. This is where tjops and sosaties belong — and if you are unsure, wait for one stage more.
What it is for
Tjops, sosaties, thick sausages
Medium
Roughly 175–200 °CThe stage for anything that needs more than ten minutes: chicken on the bone, fatty ribs, pork belly. And fish always, because it dries out over full heat within minutes.
What it is for
Chicken pieces, ribs, fish in a hinged grid
Gentle
Roughly 150–175 °CSausage splits over strong heat and drops its fat into the fire, so it goes at the bottom end. Sources put it between five and eight seconds; eight is the safe side. Bread and braaibroodjies only go on once the meat is off anyway.
What it is for
Boerewors, braaibroodjies, roosterkoek
The coal ladder
The three states of the fire and the four stages of the hand test on one sheet.
braai.kaidostudios.de · CC BY 4.0 — reuse it, just credit the source.
Hot side, empty side
Building two zones
A braai has no dial. What makes it controllable is the second zone: leave everything over full coals and your only choice is raw or charred. Rake the coals to one side, leave the other clear — and you have a hot zone for the crust and a quiet one for cooking through.
The two-zone grid
Seen from above: where the coals sit, where the meat starts and where it finishes.
braai.kaidostudios.de · CC BY 4.0 — reuse it, just credit the source.
It is happening right now
First aid at the fire
The instructions above describe how it should go. This is what to do when it is going otherwise — sorted by what you are looking at.
01 Flames are shooting out of the coals
Why
Fat is dripping into the fire and catching. It happens whenever fatty meat sits over direct coals.
Do this
Move the meat to the empty side with tongs and wait for the flame to die on its own. Never water — it throws up ash and burning fat and makes things worse. With no second zone, raise the grid a notch.
02 The meat sticks and tears when turned
Why
The grid was too cold or not clean when the meat went on. Protein bonds to metal until a crust has formed.
Do this
Do not pull. Meat releases itself once the crust is there, usually after two or three minutes. To prevent it: burn the grid off over the coals, wipe it with half an onion or a cloth, and oil it thinly.
03 Nearly black outside, raw inside
Why
Too hot and too close. The surface burns before the heat reaches the middle.
Do this
Move it to the empty side straight away and let it finish there — that saves most cuts. Next time, hold your hand over the grid: under four seconds is too hot for anything but a thin steak.
04 The coals are running out
Why
Not enough wood added, or too much put on at once. Fresh wood needs 30 to 40 minutes to become coals — too long in the middle of a braai.
Do this
From an hour in, keep a small feeder fire going next to the main bed and push coals across from it. Without one, work with what is there: rake the remaining coals together, lower the grid, use the last of the heat for bread.
05 The fire will not catch
Why
Almost always too little air or wood that is too wet. A tightly packed heap does not burn, it smokes.
Do this
Pull it apart, stand more kindling upright between the logs, let air in from below. If two logs sound dull rather than bright when knocked together, they are too wet — then only different wood helps.
06 It starts raining
Why
Cape Town winter.
Do this
A lid or a kettle braai saves the afternoon; under an open grid, rain kills the coals within minutes. Emergency measure: cover the grid and rake the coals into a tight heap — concentrated coals hold heat far longer than spread ones.
What goes wrong
Four mistakes everyone makes
Putting food on too early
The most common mistake by far. As long as flames are coming up it is not a braai, it is a campfire with meat over it.
Using gas
Technically possible, culturally a statement. The smoke is half the seasoning — a gas grill supplies heat but no flavour.
Wet wood
Damp wood smokes bitterly instead of aromatically and never comes up to temperature. Logs should ring bright when knocked together, not sound dull.
Constant turning
Every turn costs crust, every poke costs juice. One turn is enough for almost everything — for sausage it is compulsory.
And with what?
Which wood, when
Four of the six woods are candidates for a braai. What sets them apart, and why only two of them also belong in a fireplace, is on the wood page.
Compare all the woodsWatch this
Linked, not embedded — opening this page contacts no outside server. The time marks jump straight to the moment.
31:45
English
Travel Trails Tastes
Budget Braai Secrets: Tastes Like a Million Bucks
A whole braai from shopping list to plate, with prices. Useful the first time you cook for a crowd.
- 19:06„Boerewors Over Coals“ — Wors over coals in real time — you see how little is supposed to happen.
- 20:09„Pork Loin Chops: Marinade & Fire“ — Marinade and fire side by side: why a sugary marinade has no business over full coals.
Last checked 2026-09-05
38:31
English
Travel Trails Tastes
Perfect South African Braai Platter | Lamb Ribs, Chops, Wors & Braai Broodjies
A complete braai in real time, with the running order as its subject. Long, but the chapters make it usable.
- 13:58„Braai Broodjie Options“ — What may go between the slices and what may not — chutney is not an option, it is the thing itself.
- 25:32„Lamb Chops and Ribs On The Braai“ — Two cuts with very different cooking times on one grid — the actual skill at a braai.
- 32:42„Braai Broodjie Magic“ — The broodjies go on last, onto the coals that are dropping off.
Last checked 2026-09-05
20:00
English
Travel Trails Tastes
Seared Rump Steak at the Southernmost Tip of Africa | Cape Agulhas Braai
Steak over open wood coals rather than gas, in a place with no shelter from the wind. More realistic than any studio kitchen.
- 13:58„The Steak on the Braai/Grill“ — Going on over full coals. You can see how short the time on the first side is.
- 14:45„The Steak Reveal & Topping Melt“ — The cut after resting — the proof that waiting is what makes the difference.
Last checked 2026-09-05